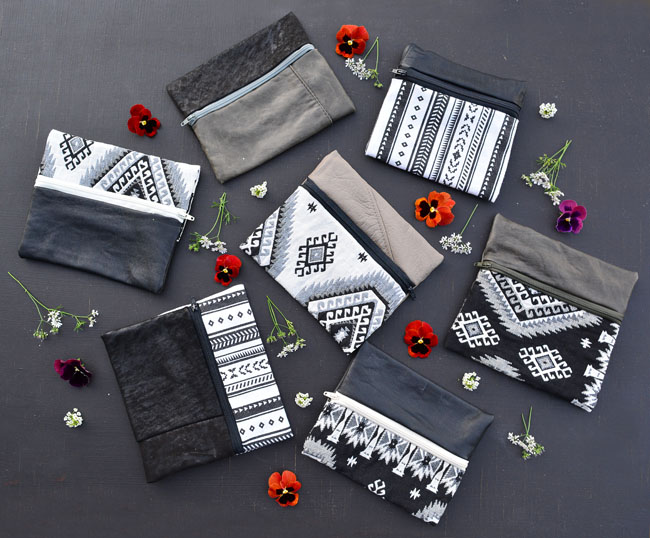
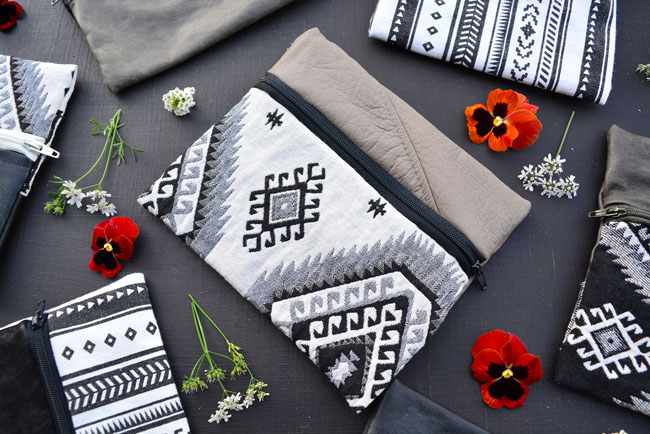
This zip pouch tutorial shows you step by step how to make your very own zip pouch from a combination of fabric and recycled leather. The contrast of these two materials takes this pouch from everyday to the next level, in my humble opinion anyway!
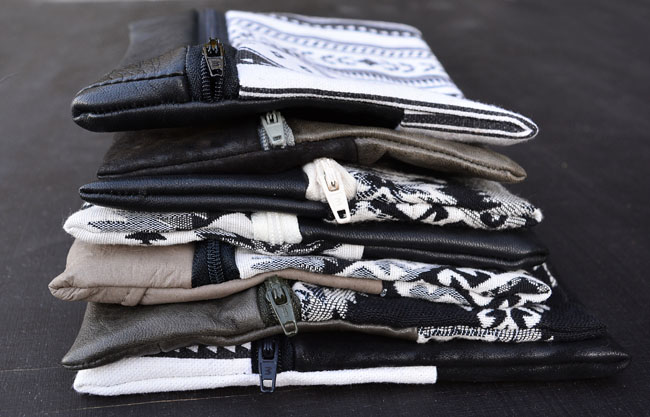
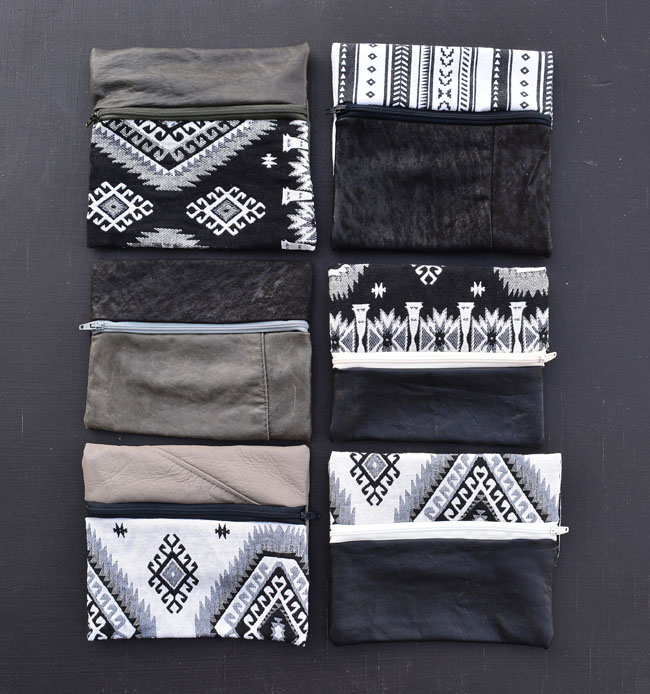
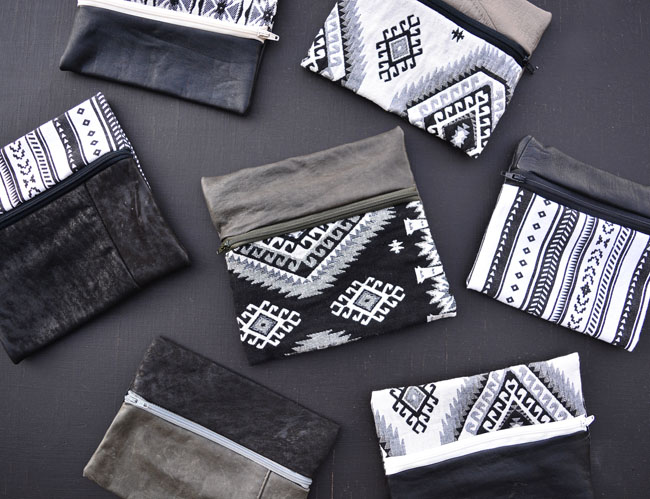
This style of pouch is a different take on the two purses I have done before here and here. Being flat, this pouch is the perfect shape for a pencil case, make up bag or wallet. I used an old leather jacket and a variety of fabric pieces I had lying around; an off cut of some Aztec print cotton fabric and an old canvas beach bag I liked the pattern of. This pouch ended up costing me the price of a zip, which was around $1! I’m quite into reusing old things to make new stuff, if you were inclined you could make this zip pouch for $0 just with things you have in your house already, grab some old material, unpick a zip out of an old garment and your away. I’m always eyeing up things in my house I could make into something else, much to Mr Practicals despair!
Here’s how I did it
What you’ll need:
- Old leather jacket
- Fabric (strong fabric i.e. denim, heavy cotton)
- Zips
- Leather or denim sewing machine needle
- Cotton
Step 1| Cut out the pouch pieces
Start by cutting out the two pieces of the pouch. One from leather and the other from your chosen fabric. Cut them to whatever size you want your pouch to be just allow 1.5cm for seam allowance all the way around.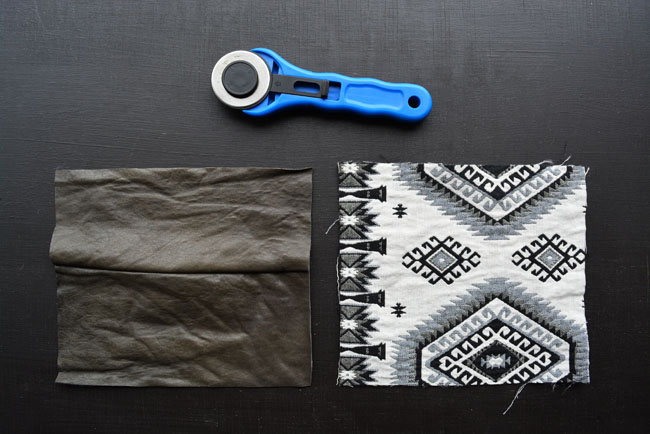
Step 2| Sew zip
The next step is to sew in the zip. Start by pinning the zip face down to the right side of the fabric. Use a zip that is longer than the material is wide and pin it so it overhangs the material. Doing this will make the zip sit nicely with no gaps.
Using your zipper foot sew along this pinned edge.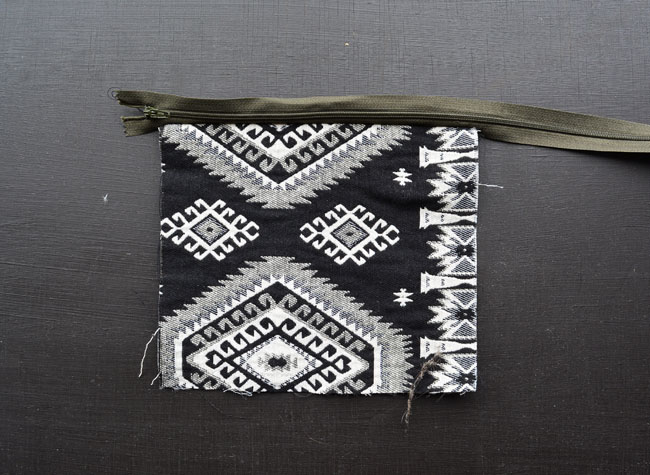
Trim the zip to the same width as your fabric.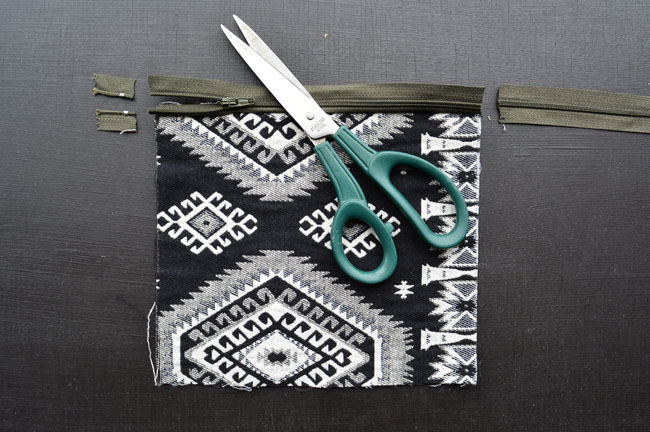
Now repeat sewing the zip for the leather piece of fabric. Pin the zip face down onto the right side of the leather and sew along this edge.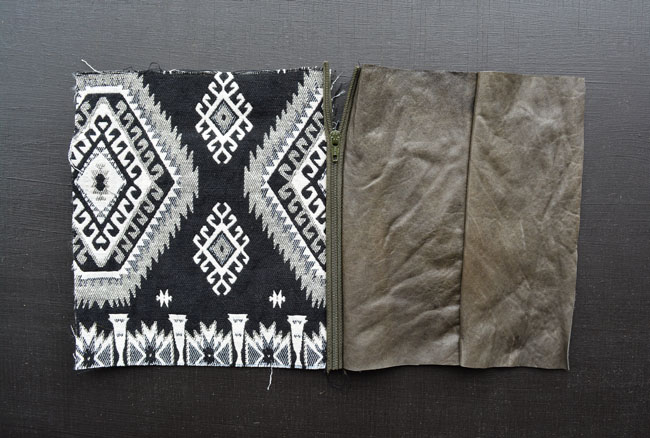
Step 3| Sew up the pouch
With right sides together, pin and sew along the bottom edge of the pouch allowing 1.5cm seam allowance.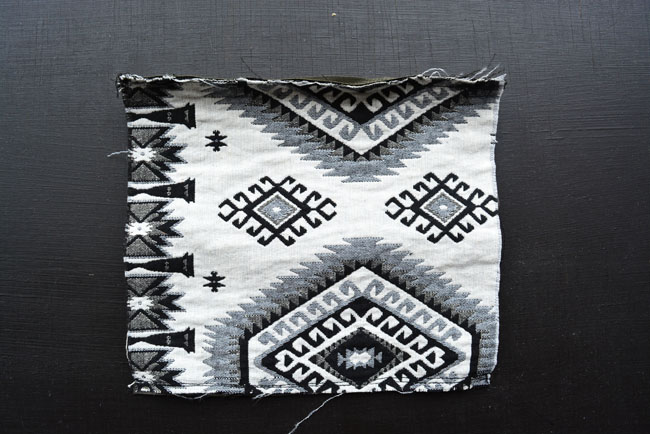
Now the sides need to be sewn up. This is where things take a different path from a basic zip purse. Rather than sewing up the sides towards the zip, we need to squash the purse flat with the zip in the middle or slightly off centre (depending on the look you want) and sew across and over the zip. Once again allow 1.5cm seam allowance.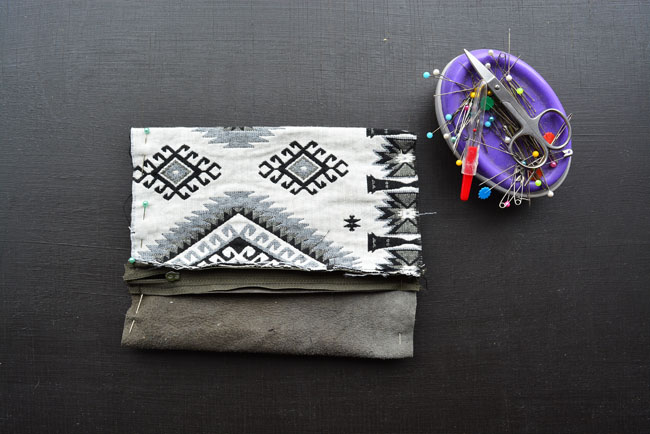
Step 4| Finishing touches
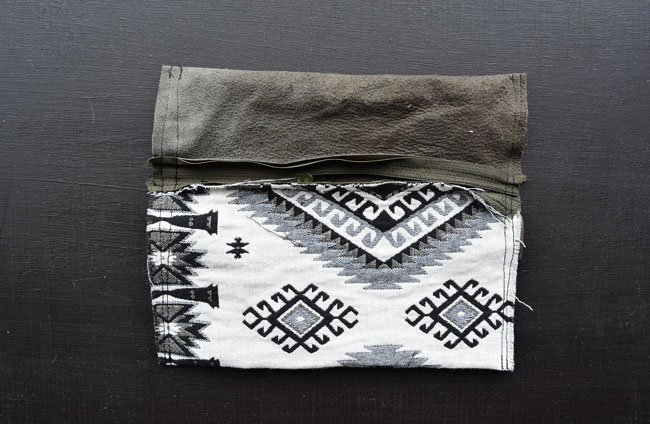
The final step is to trim the corners, trim loose threads, turn the pouch in the right way and you done!
I hope you liked my zip pouch tutorial, be sure to let me know by leaving a comment below, I would really love to hear from you. xx



9 Comments
[…] See it HERE! […]
[…] Tutorial via threadbarecloak.com […]
Love this zip pouch tutorial!! I just published it, see it here: http://www.diy-crush.com/blog/recycled-leather-and-fabric-zip-pouch-tutorial/
Thanks Denise. Love seeing my purses on your site
[…] still stuck for a Mothers Day DIY gift after all these ideas then check out a few of my diy gifts; Leather Purse, Plant Pots From Ceramics and Painted Chalk Labels on Glass Storage […]
[…] Get tutorial Categories bag, pouch […]
This is one very good idea for a mother/grandmother to teach a kid how to sew zippers in that will help in making other projects.
Thanks Linda, I agree. 🙂
[…] 3. Recycled Leather Zip : Threadbare Cloke […]