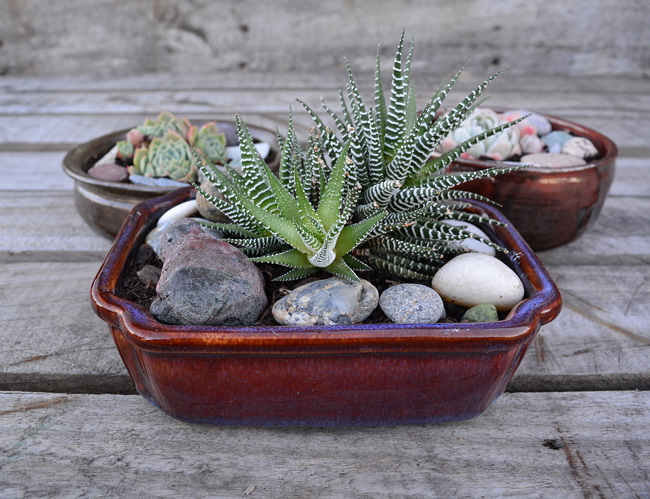
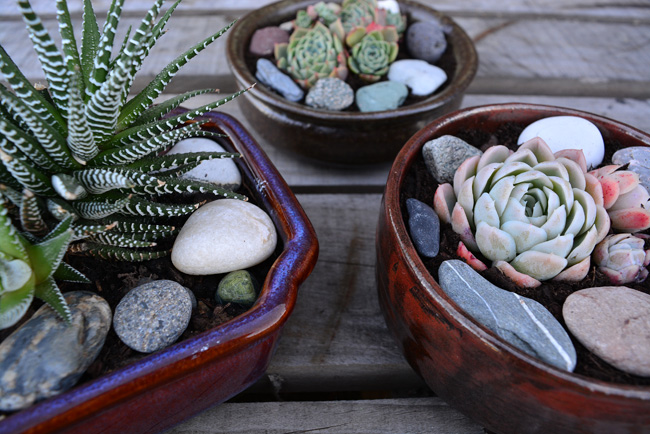
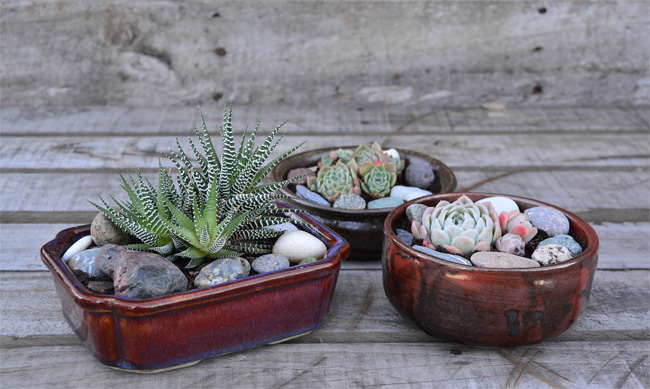
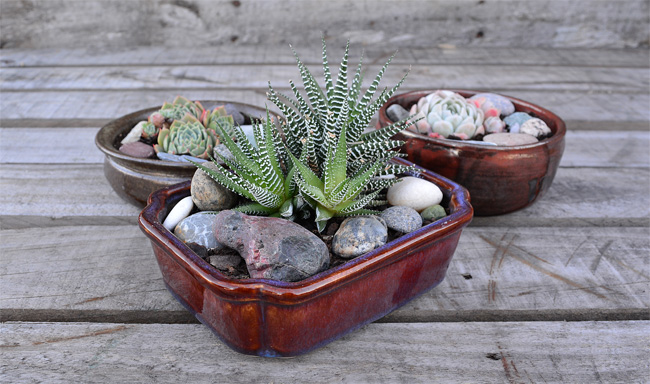
This succulent bowl is a super easy DIY project and is something I actually made by accident. I have so many gorgeous succulents in my garden and wanted to bring some inside, I potted a spiky little fella in an old kitchen dish I picked up at a secondhand store and left it on the coffee table. Since then, all the pretty stones I bring back from my walks (yes I’m just one of those stone collecting types) keep getting put in there for some reason along with other random objects. I think I absentmindedly chucked what ever was on the coffee table in there so I could have a clear run wiping it down but I do have a sneaking suspicion Mr Practical could shed some light on a few of the more random of objects. Once I removed the random things, the stones ending up looking quite cool and so they stayed. As times gone by, my spiky little fella has grown, the stones have nestled in and my succulent bowl looks better than ever. So there you have it, my accidental succulent bowl, perfect for coffee tables, as gifts and storing random objects.
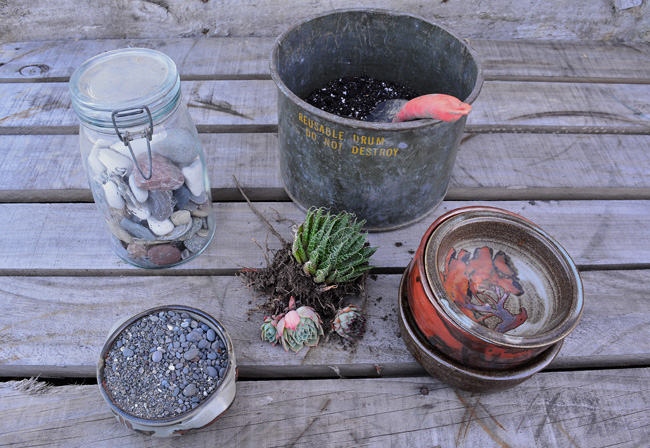
What you’ll need:
- Old pottery/stoneware bowls
- Succulent potting mix
- Stones for the base of bowl
- Decorative stones
 Beware of nosy dogs!!
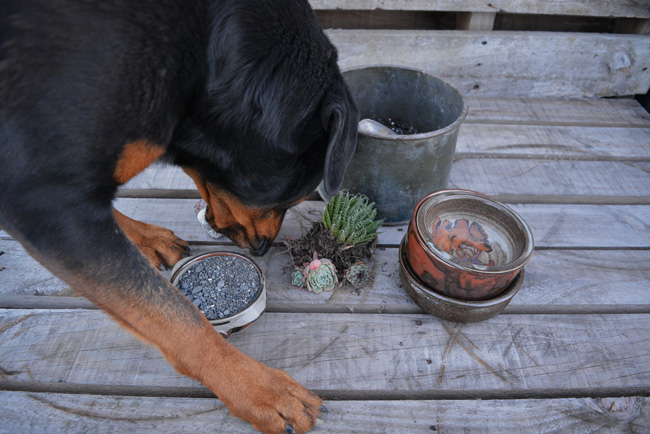
Step 1| Drainage stones
Place stones in the base of the bowls so they take up approximately one third. These stones help with drainage if there are no drainage holes, which there won’t be if you are using old kitchen bowls. You could easily drill a hole in the bottom if you wanted. See my video from my post Upcycled Ceramic Jars To Plant Pots.
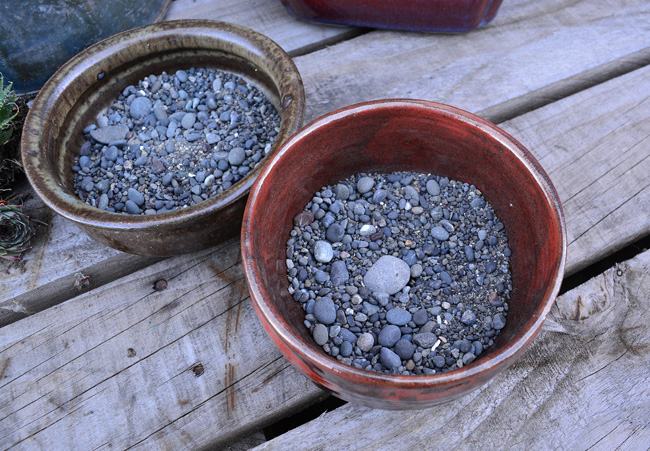
Step 2| Potting mix
Top the rest of the bowl up with succulent potting mix. You can buy this at any garden centre or make your own. It usually involves potting mix, sand and perlite. There are lots of tutorials on the net so have a google or have a look at this video.
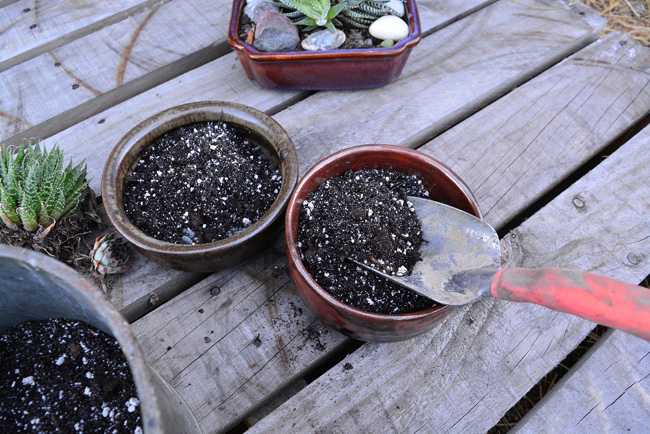
Step 3| Succulent
Add the succulents to the dish. It’s best aesthetically to work in odd numbers, so maybe use 3 or 5 succulents.
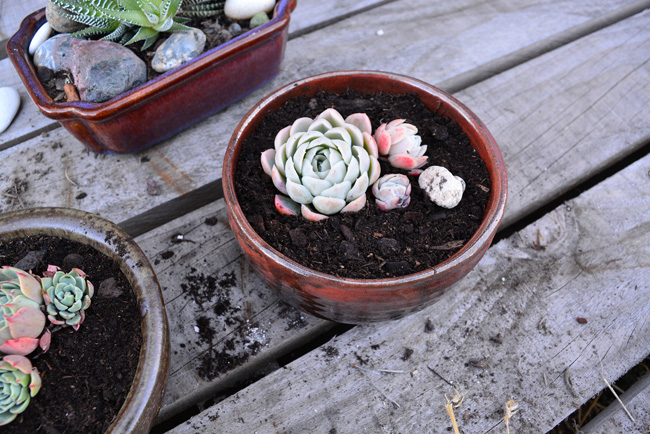
Step 4| Decorative stones
The last thing to do is add all the coloured stones you want and your all done.

3 Comments
[…] See it HERE! […]
These turned out really lovely 🙂
-Clarissa @ The View From Here
[…] Photo via threadbarecloak.com […]