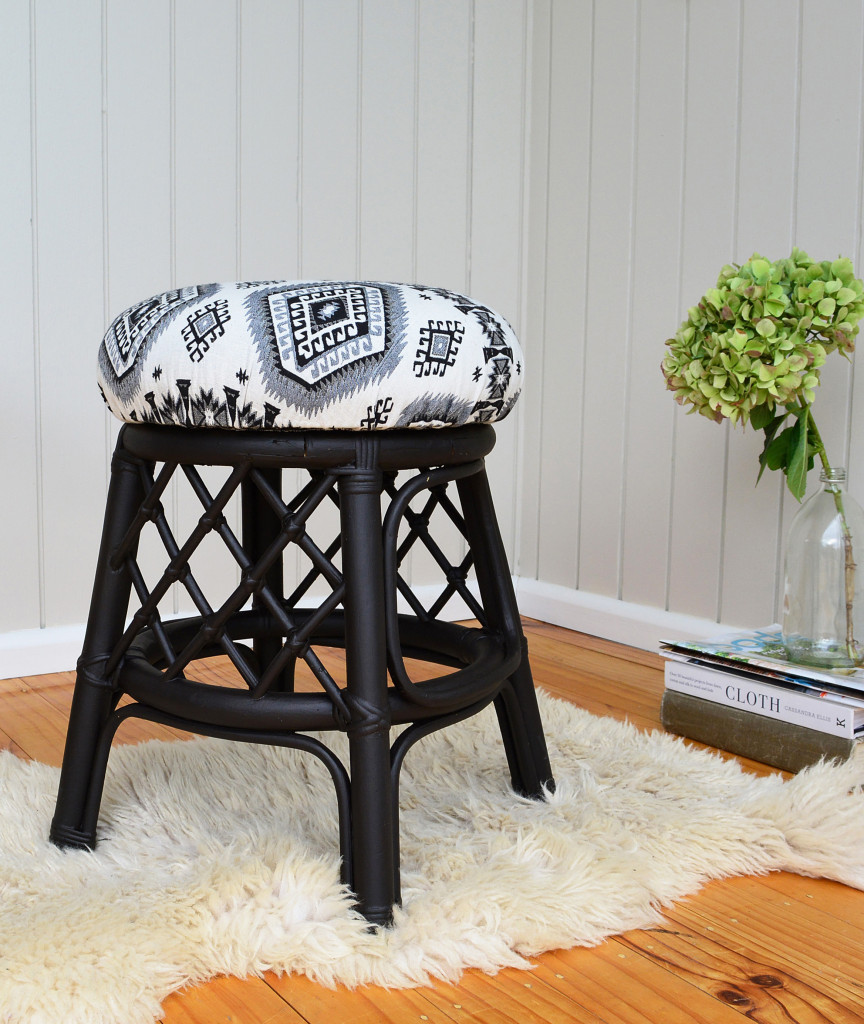
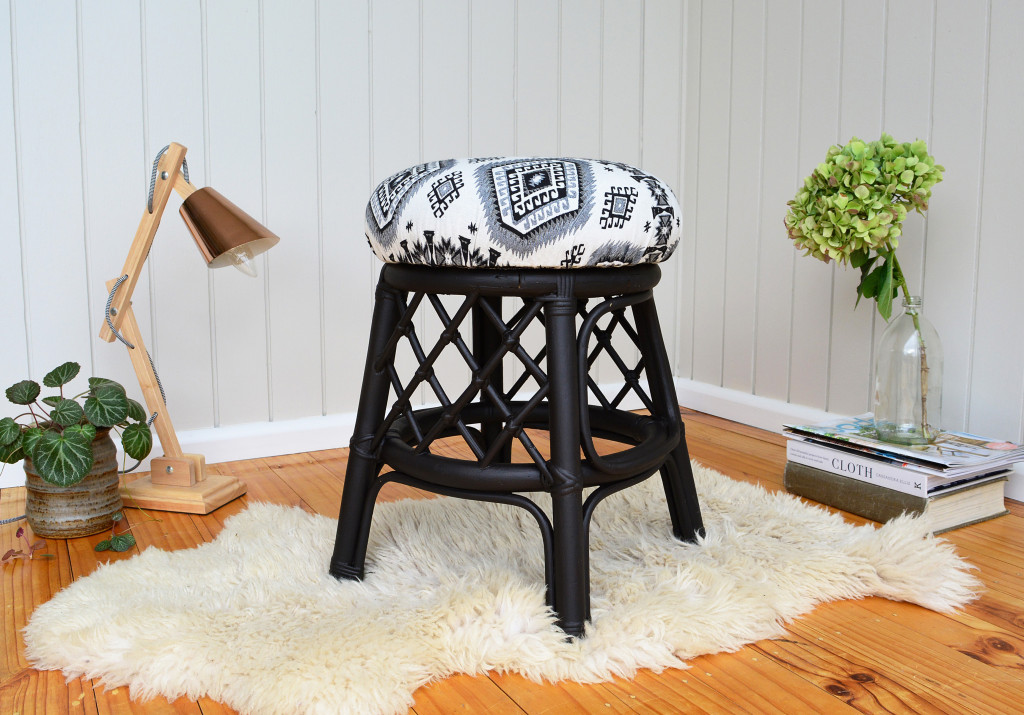
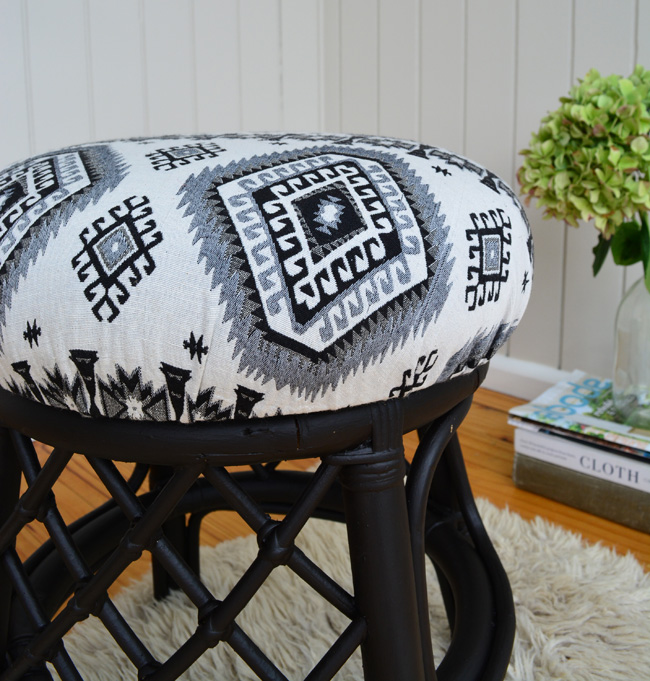
I’ve been dabbling in upholstery the last few weeks and I think I’ve found a new DIY love! It’s amazing what you can do with a little fabric and a staple gun, you can turn an otherwise old, shabby, piece of furniture into a beautiful, “brand new”, modern piece, I love it!
In this post I will share with you the steps on how to reupholster a stool (or any chair for that matter) the super easy way!! Honestly, this technique is so simple, anyone with a staple gun could do it!
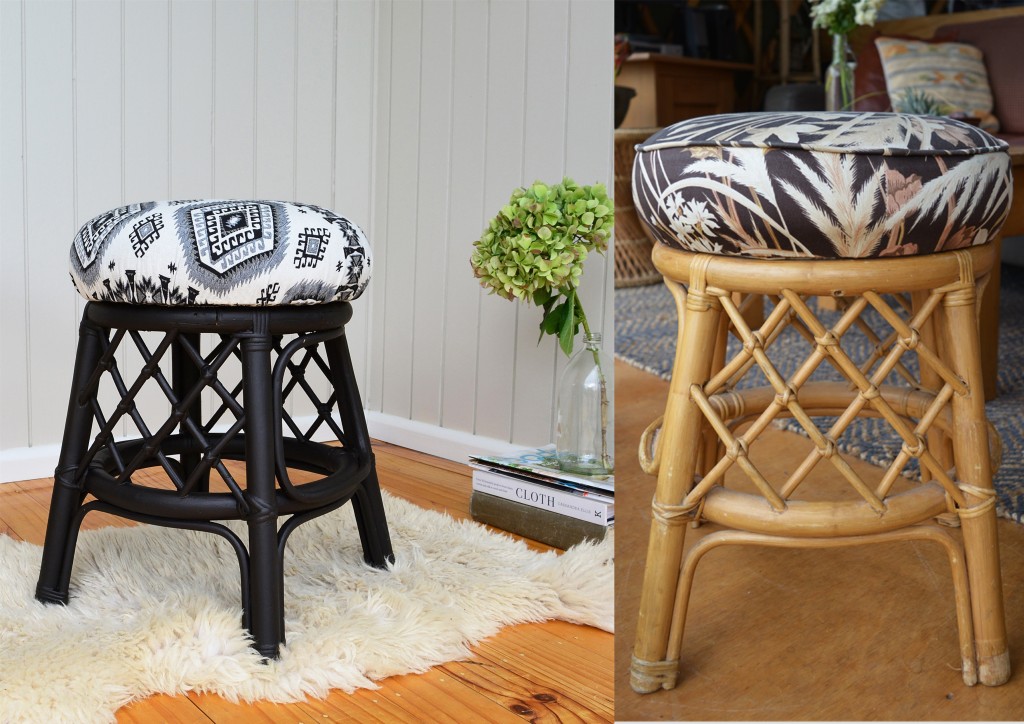
Here’s how I did it
What you’ll need:
- Old stool/chair
- Fabric (upholstery fabric or heavy non stretch sewing fabric)
- Screw driver
- Scissors
- Staple gun
- Pencil
- Paint (optional)
Step 1| Find an old stool
Find a stool or chair you want to recover. This technique will work for recovering all kinds of seating including bar stools, computer chair or dinning chairs, so it doesn’t need to be a stool.
If you need to find an old stool I highly recommend hitting up your local secondhand stores. Your bound to find a gorgeous, well made chair that just needs a little upholstery TLC. 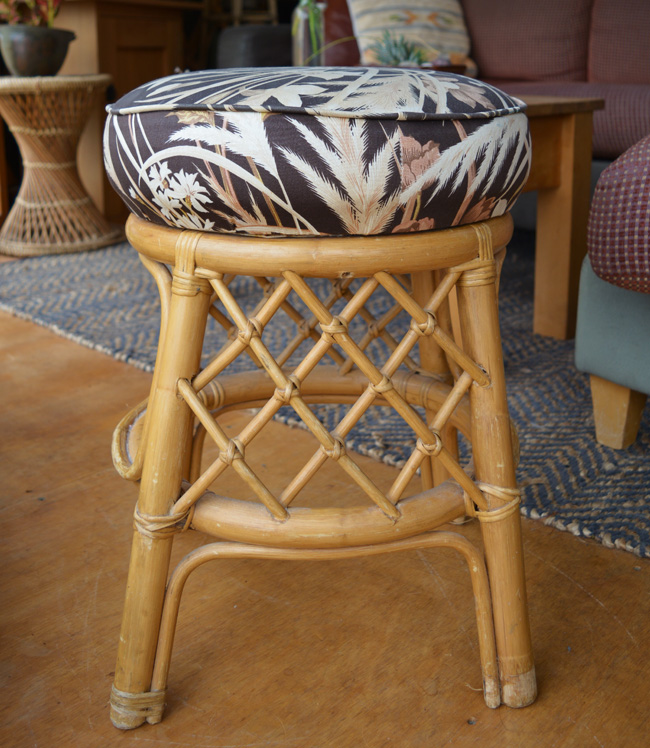
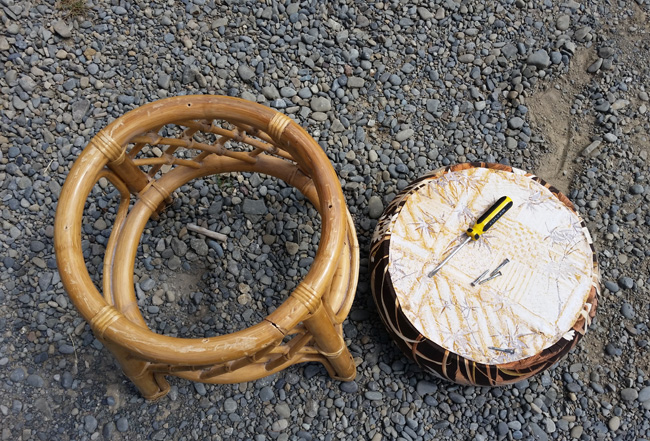
Step 2| Unscrew seat from base
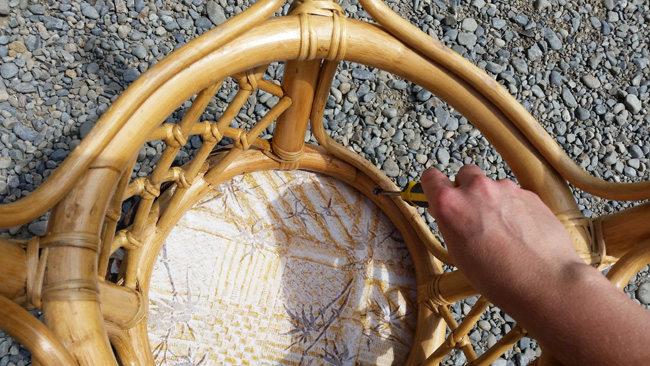
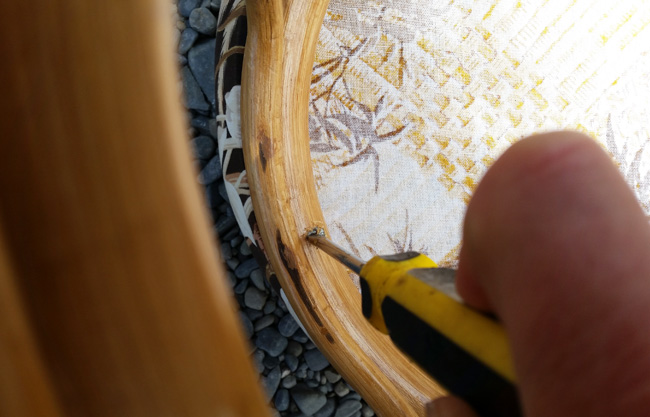
The first step is to unscrew the seat from the base. Making sure you keep the screws safe until we need them at the end. Don’t do what I would did and put them somewhere “safe” then forget where the “safe” place was. 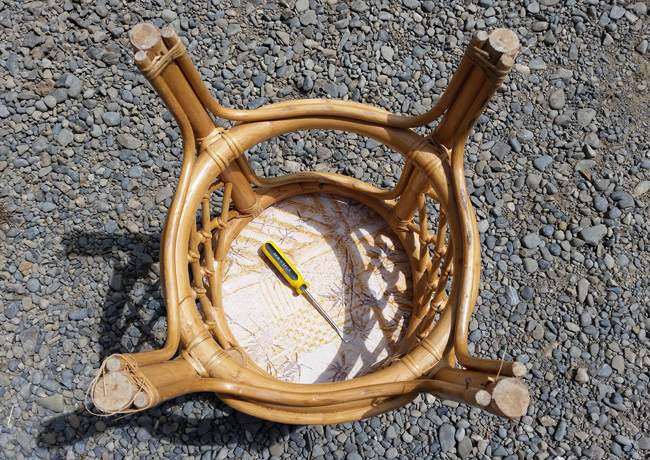
Step 3| Repaint the base – optional
This step is optional, but if your stool needs a repaint then this is the time to do it. Start, by washing it down, sanding, applying a primer then apply few coats of paint. Sorry for the light instructions on the painting, stay tuned as I have a post in the pipe line on painting old furniture. Sign up for my newsletter if you like and then it will be emailed directly to you. 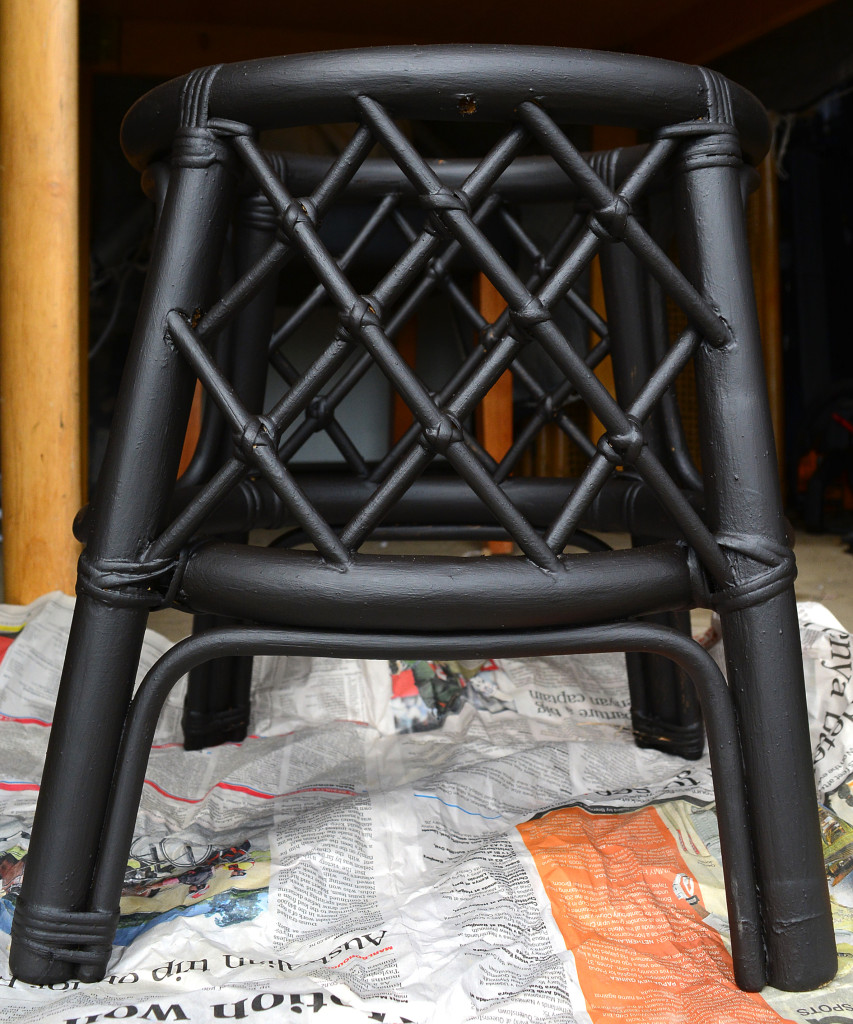
Step 4| Remove the old fabric
To reupholster the seat, start by removing the old fabric. Usually the fabric is stapled to the underside of the seat, so you will need a flat head screwdriver or similar tool to leverage these staples out.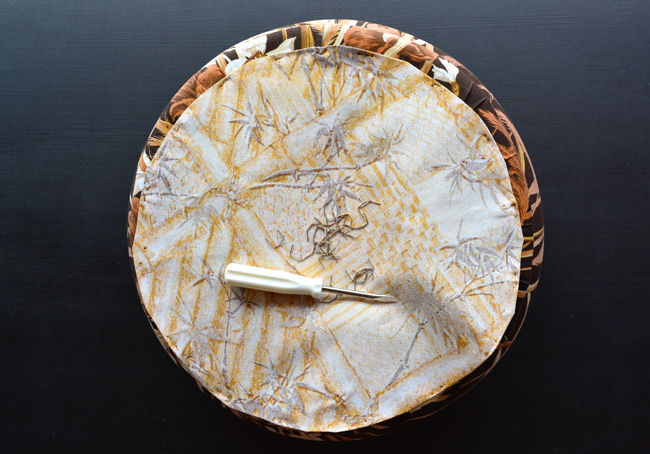
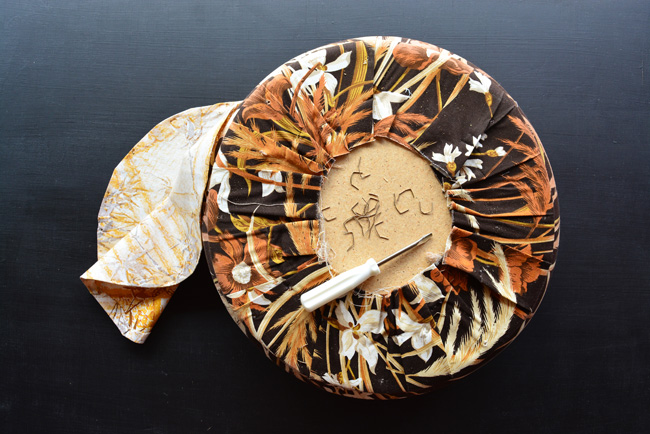
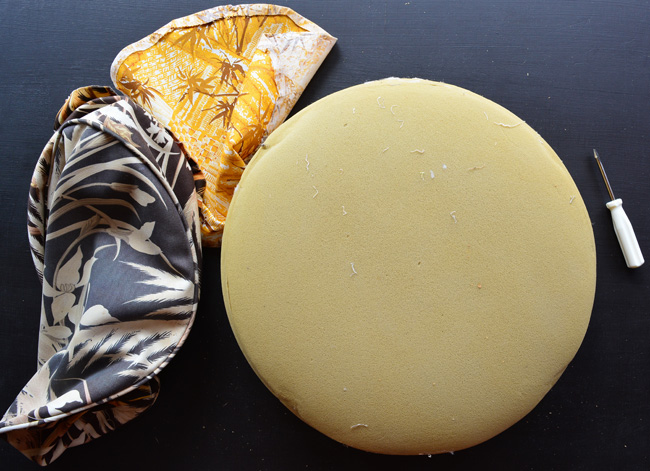
Step 5| Cut out the new fabric top
To cut out the new fabric for the seat, place the upholstered stool in the centre of the fabric, making sure there is enough to cover the top and approx 1/3 of the underside of the seat and then cut out. Doesn’t matter if the fabric isn’t cut perfectly straight, it will get trimmed up after it’s stapled to the seat.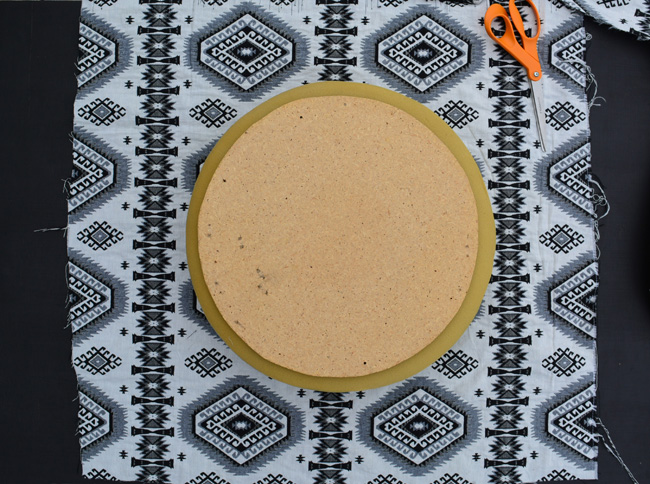
Step 6| Covering the cushion with the new fabric
Place the cushion top upside down in the centre of the fabric. Fold in and staple at the four opposite sides. This secures the fabric in place so it doesn’t slip while you are stapling your way around.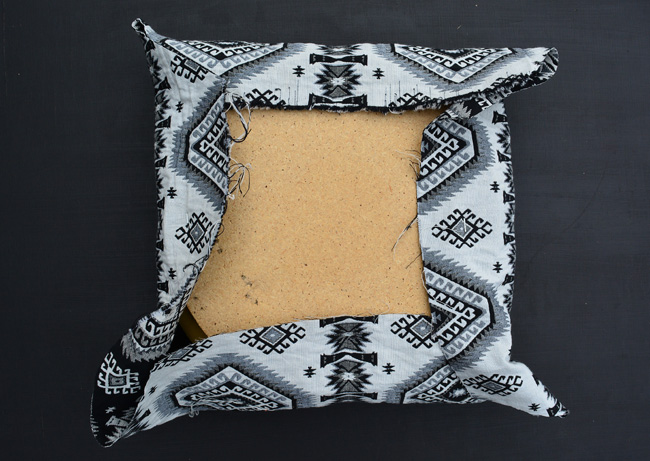
Turn up the right way and check that the fabric is sitting straight and looks good before carrying on with the stapling. Once you are happy with the fabric position start stapling around the entire base, making sure the material stays smooth and taut. Keep each staple close together and the same width apart the whole way round.
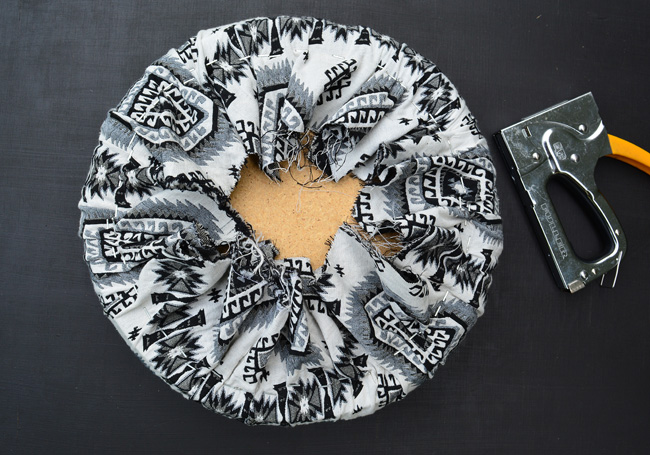
Trim the excess fabric off about 3-4cm away from the staples.
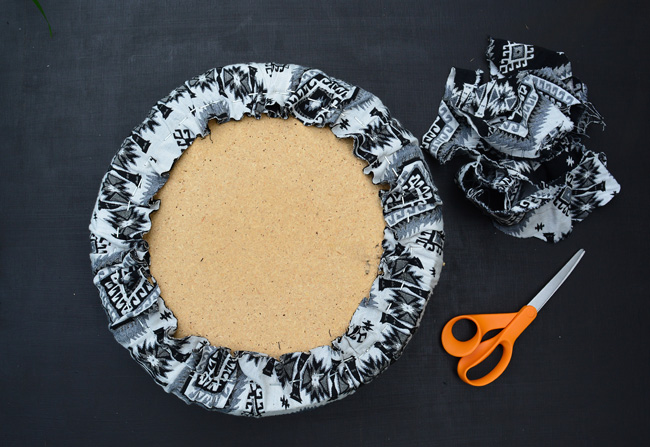
Step 7| Fabric cover for underneath
The next step is to cut a circular piece of fabric to cover the whole underneath of the seat. It gives a professional finish by hiding away all the staples and raw edges of fabric. You can use any fabric for this, it doesn’t need to be the same as it won’t be seen. To cut this piece out, place your seat in the middle of your chosen fabric. Trace around the seat with a sewing pencil so you have a circle, then cut out the circle 2-3cm inside the line you have traced. To attach this circle piece, lay it on the underside of the seat right side out so it covers the staples and fabric edges. Then staple into place.
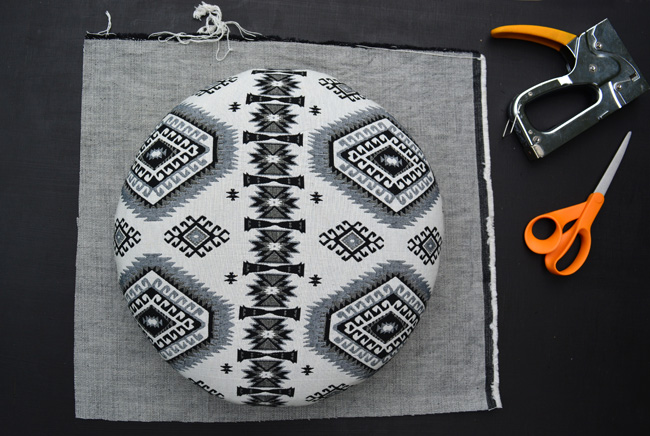
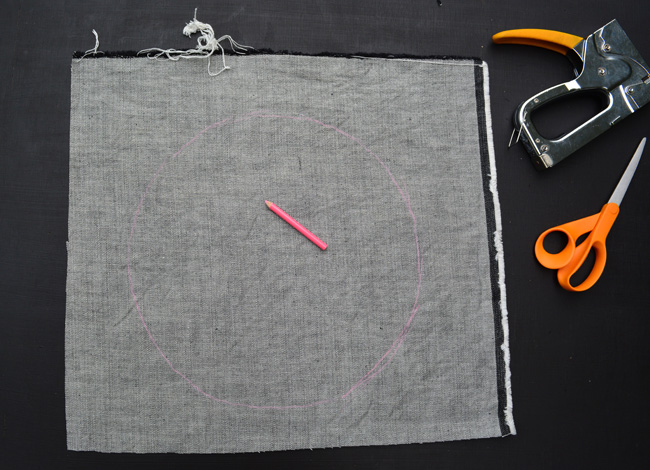
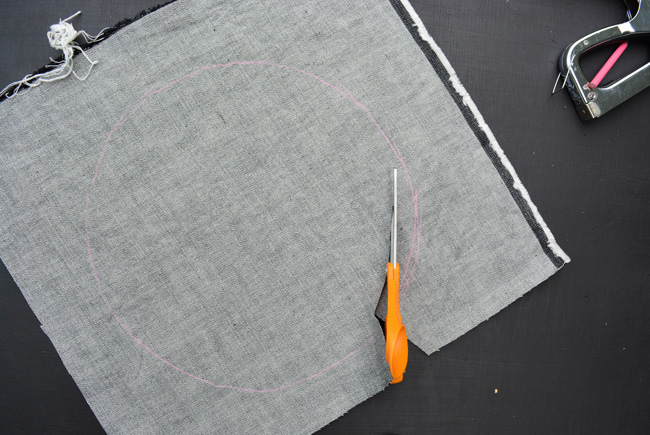
Lay this circle of material on top of your stapled fabric so that it covers the edges nicely and staple into place.
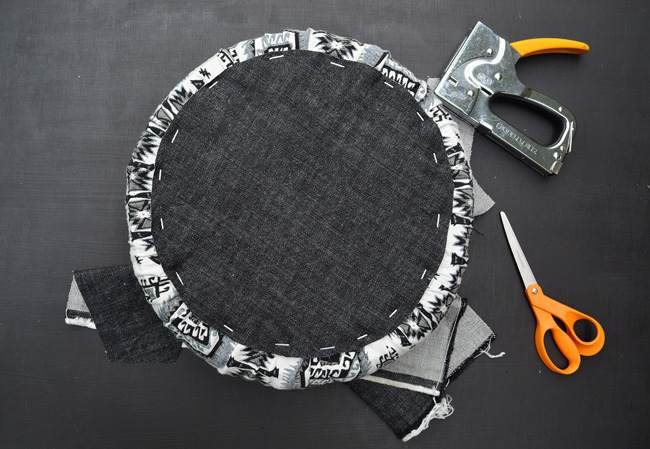
And there you have your newly reupholstered stool cushion!
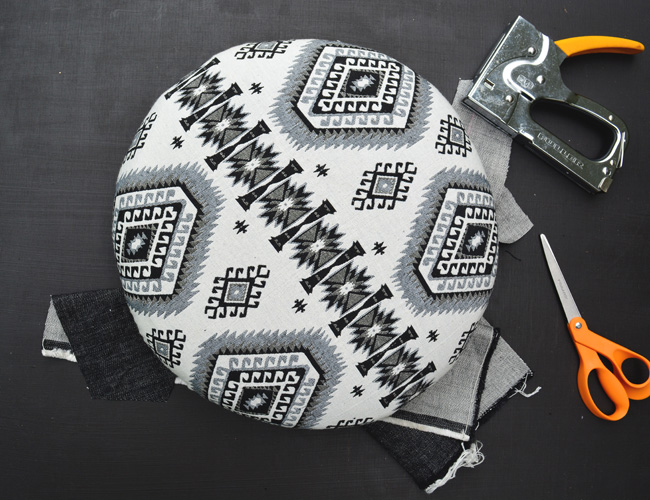
Step 8| Put the stool back together
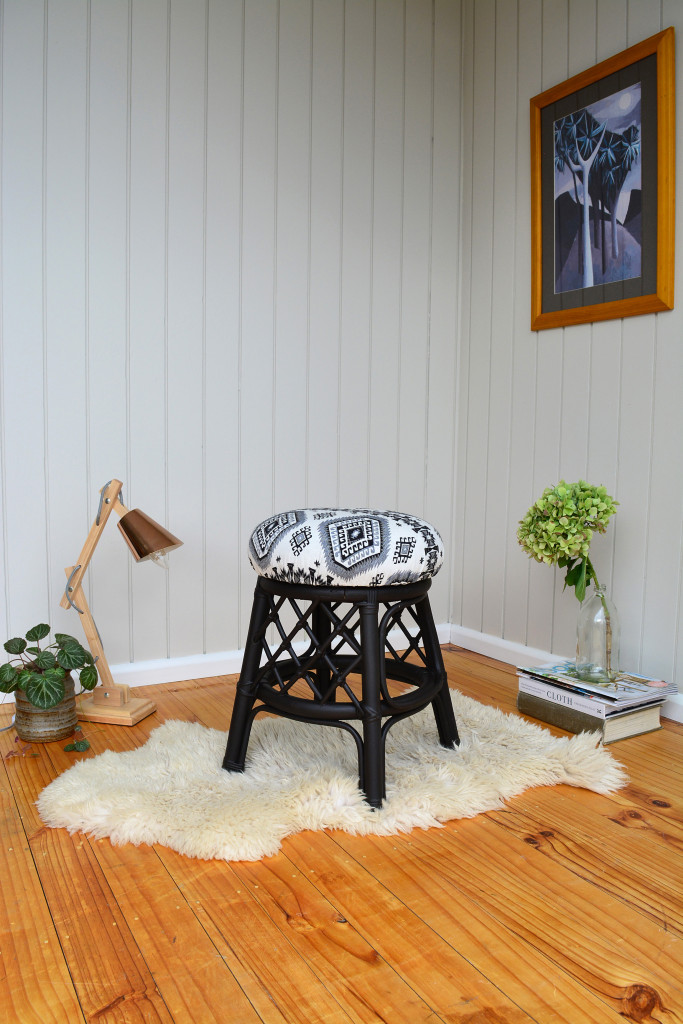
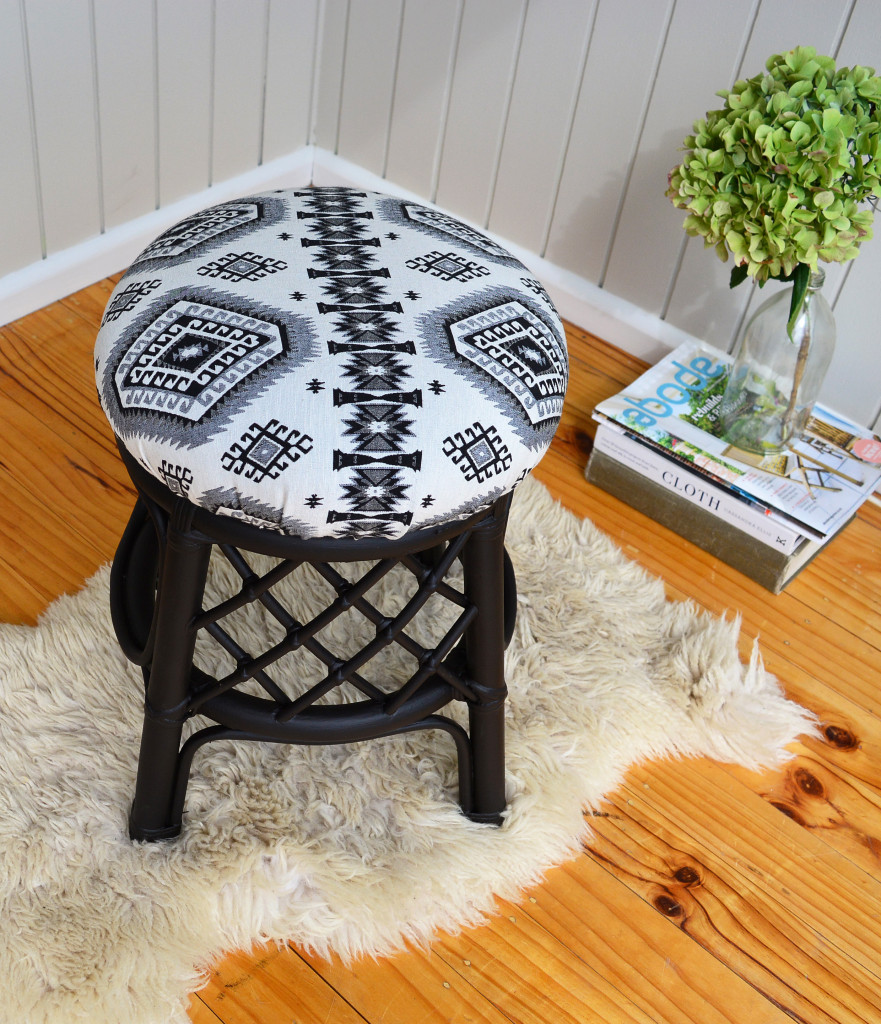
The last step is to put the stool back together. Place the reupholstered cushion top onto the base of your stool, adjust into position, then secure into place with the original screws using a drill or screwdriver and your all done!
Thanks for following along with my tutorial on reupholstering a stool, hopefully you found it as easy as I said it was! Be sure to leave a comment, I would love to hear from you and stay tuned for my next upholstery post that shows how to upholster with piping. In the meantime check out my other DIY PROJECTS if you get a chance.
xxx

7 Comments
This is gorgeous! Love the color-choices. 🙂 Well done!
Thanks Cat, appreciate the feed back. xx
What a beautiful, high-impact transformation!!!
Thanks Lindsay, appreciate the kind words coming from you. xx
[…] See it HERE! […]
[…] from Threadbare Cloak shows us the easy way to upholster an old stool or chair. Lets face it who wants to do anything […]
[…] How to Reupholster A Stool from threadbarecloak.com […]