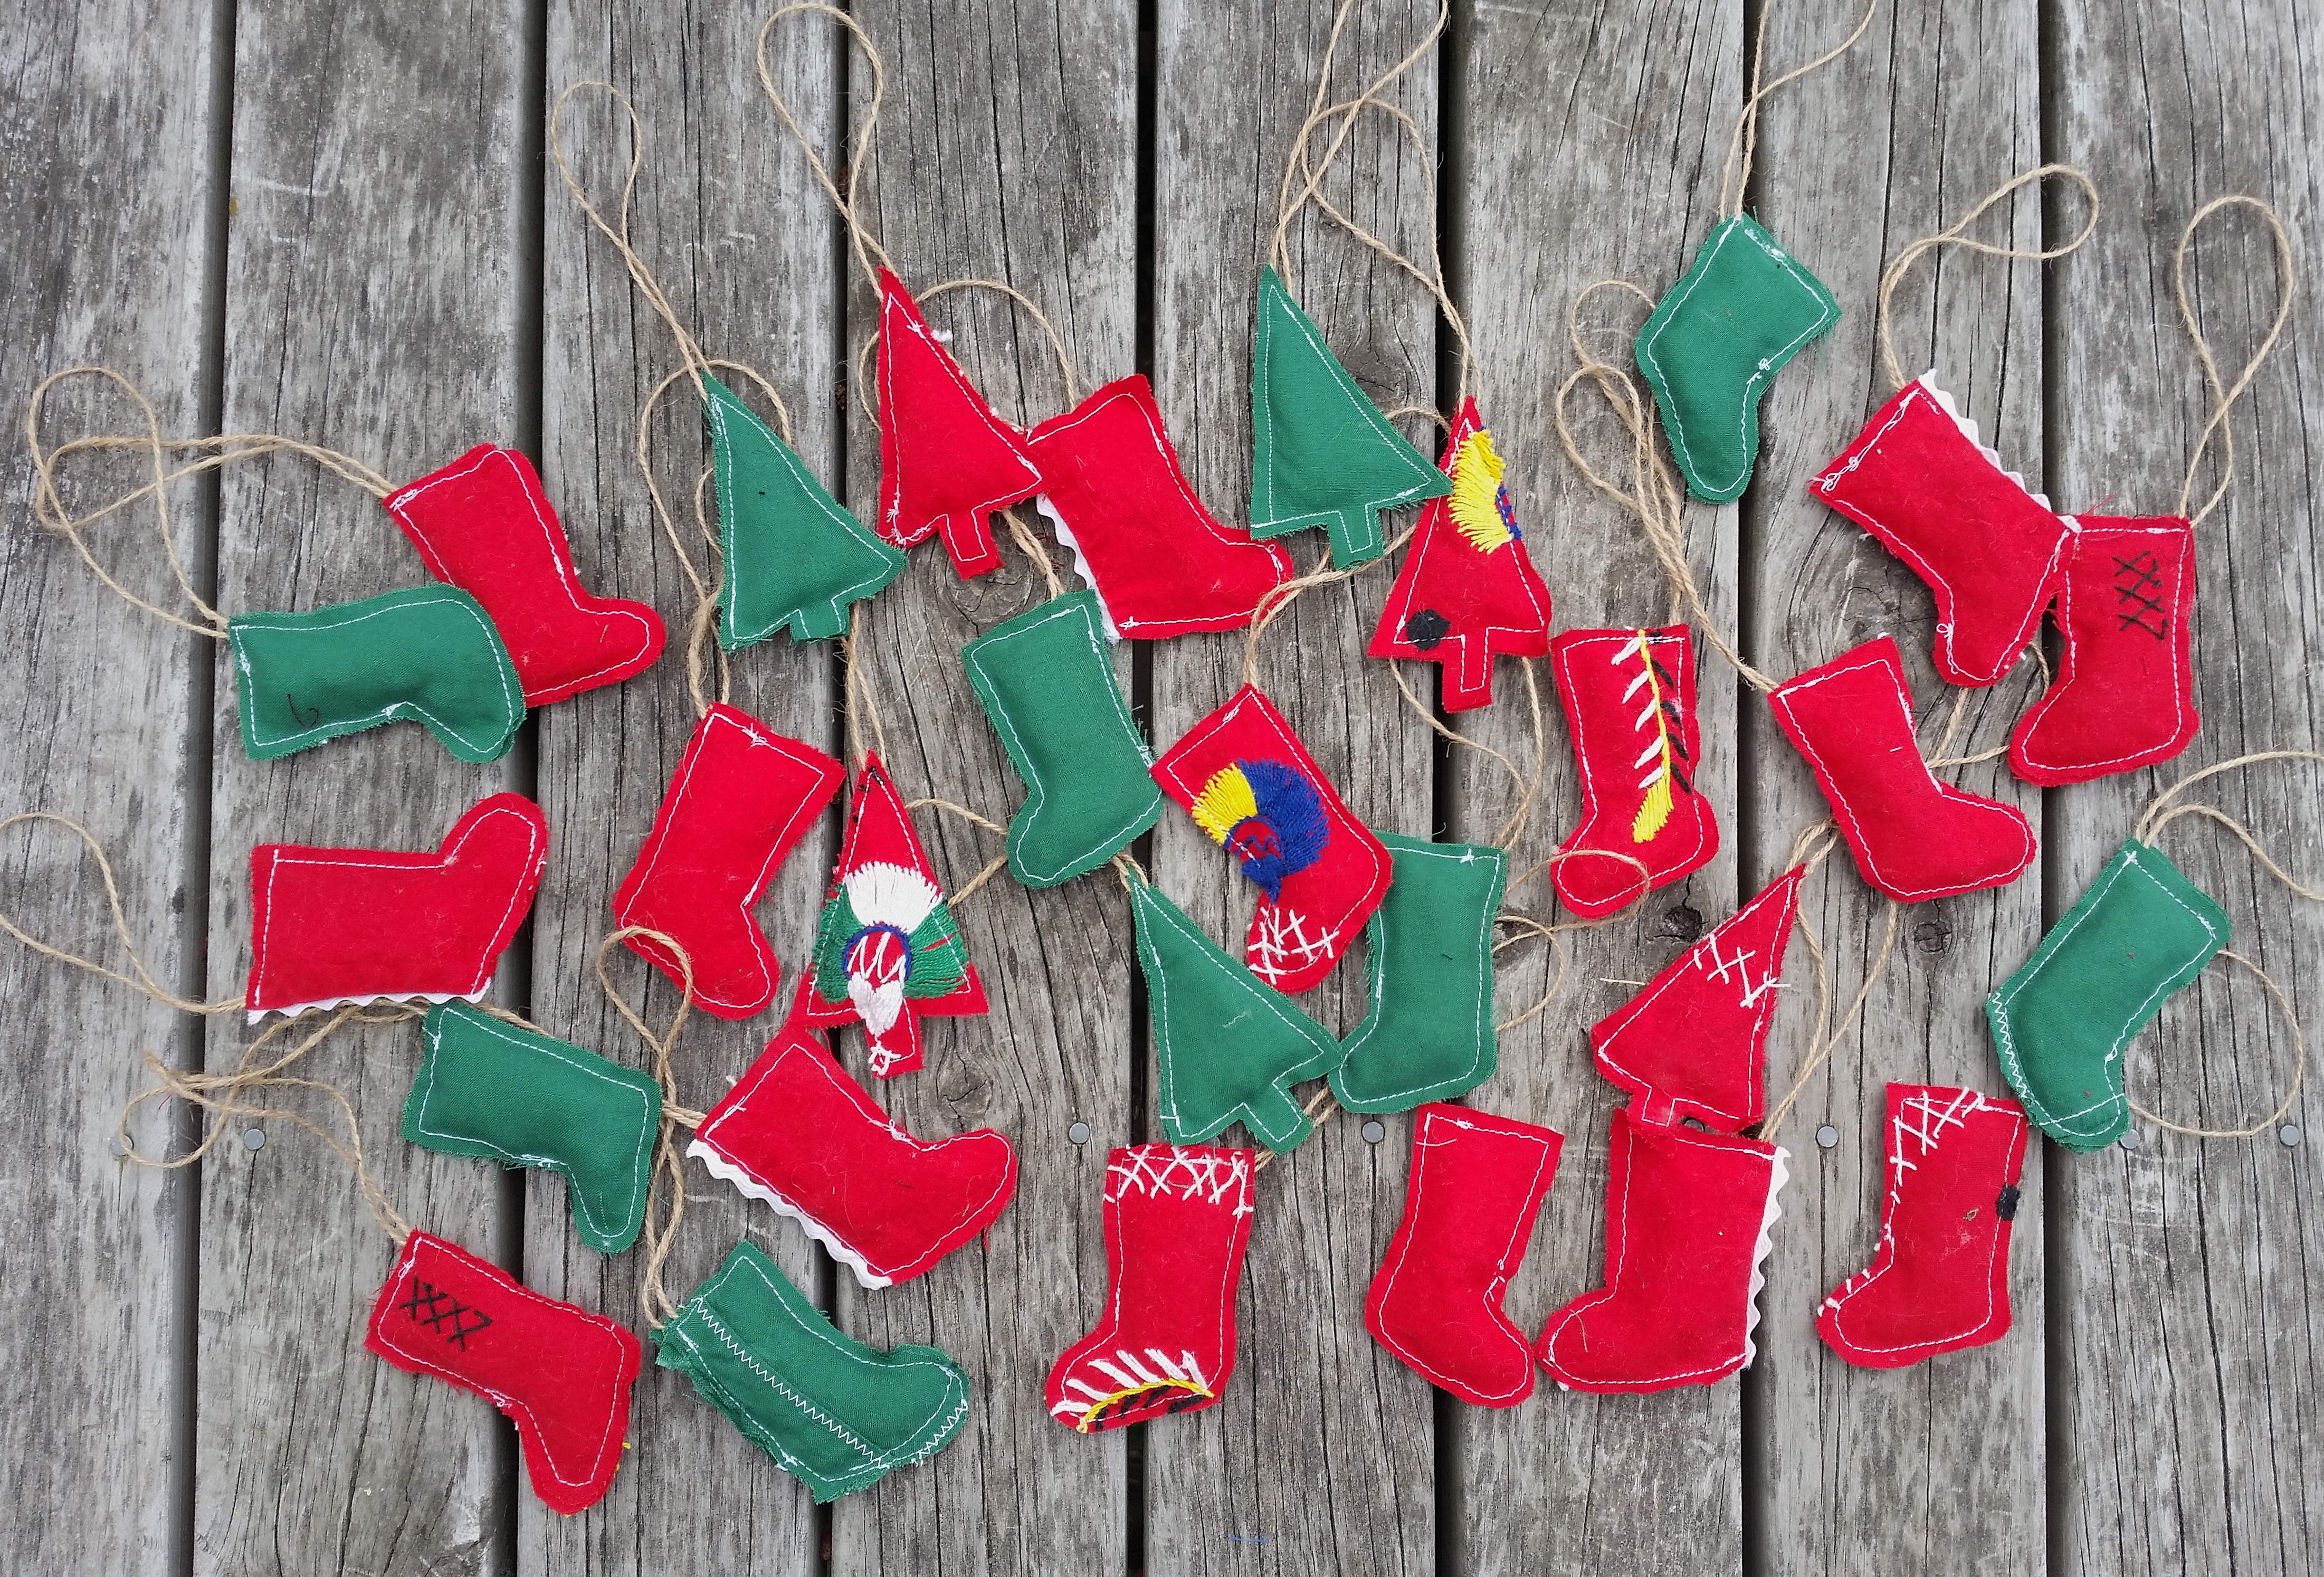
Here’s a last minute “how to” on making your own diy christmas decorations. They are really quick to make and cost next to nothing, which is a bonus at this time of year if you ask me. All you need is some cute fabric and your half way there! Read on for all the details.
Here’s how I did it
What you’ll need:
- Fabric
- String/twine
- Stuffing
- Sewing machine
- Thread
Step 1| Fabric
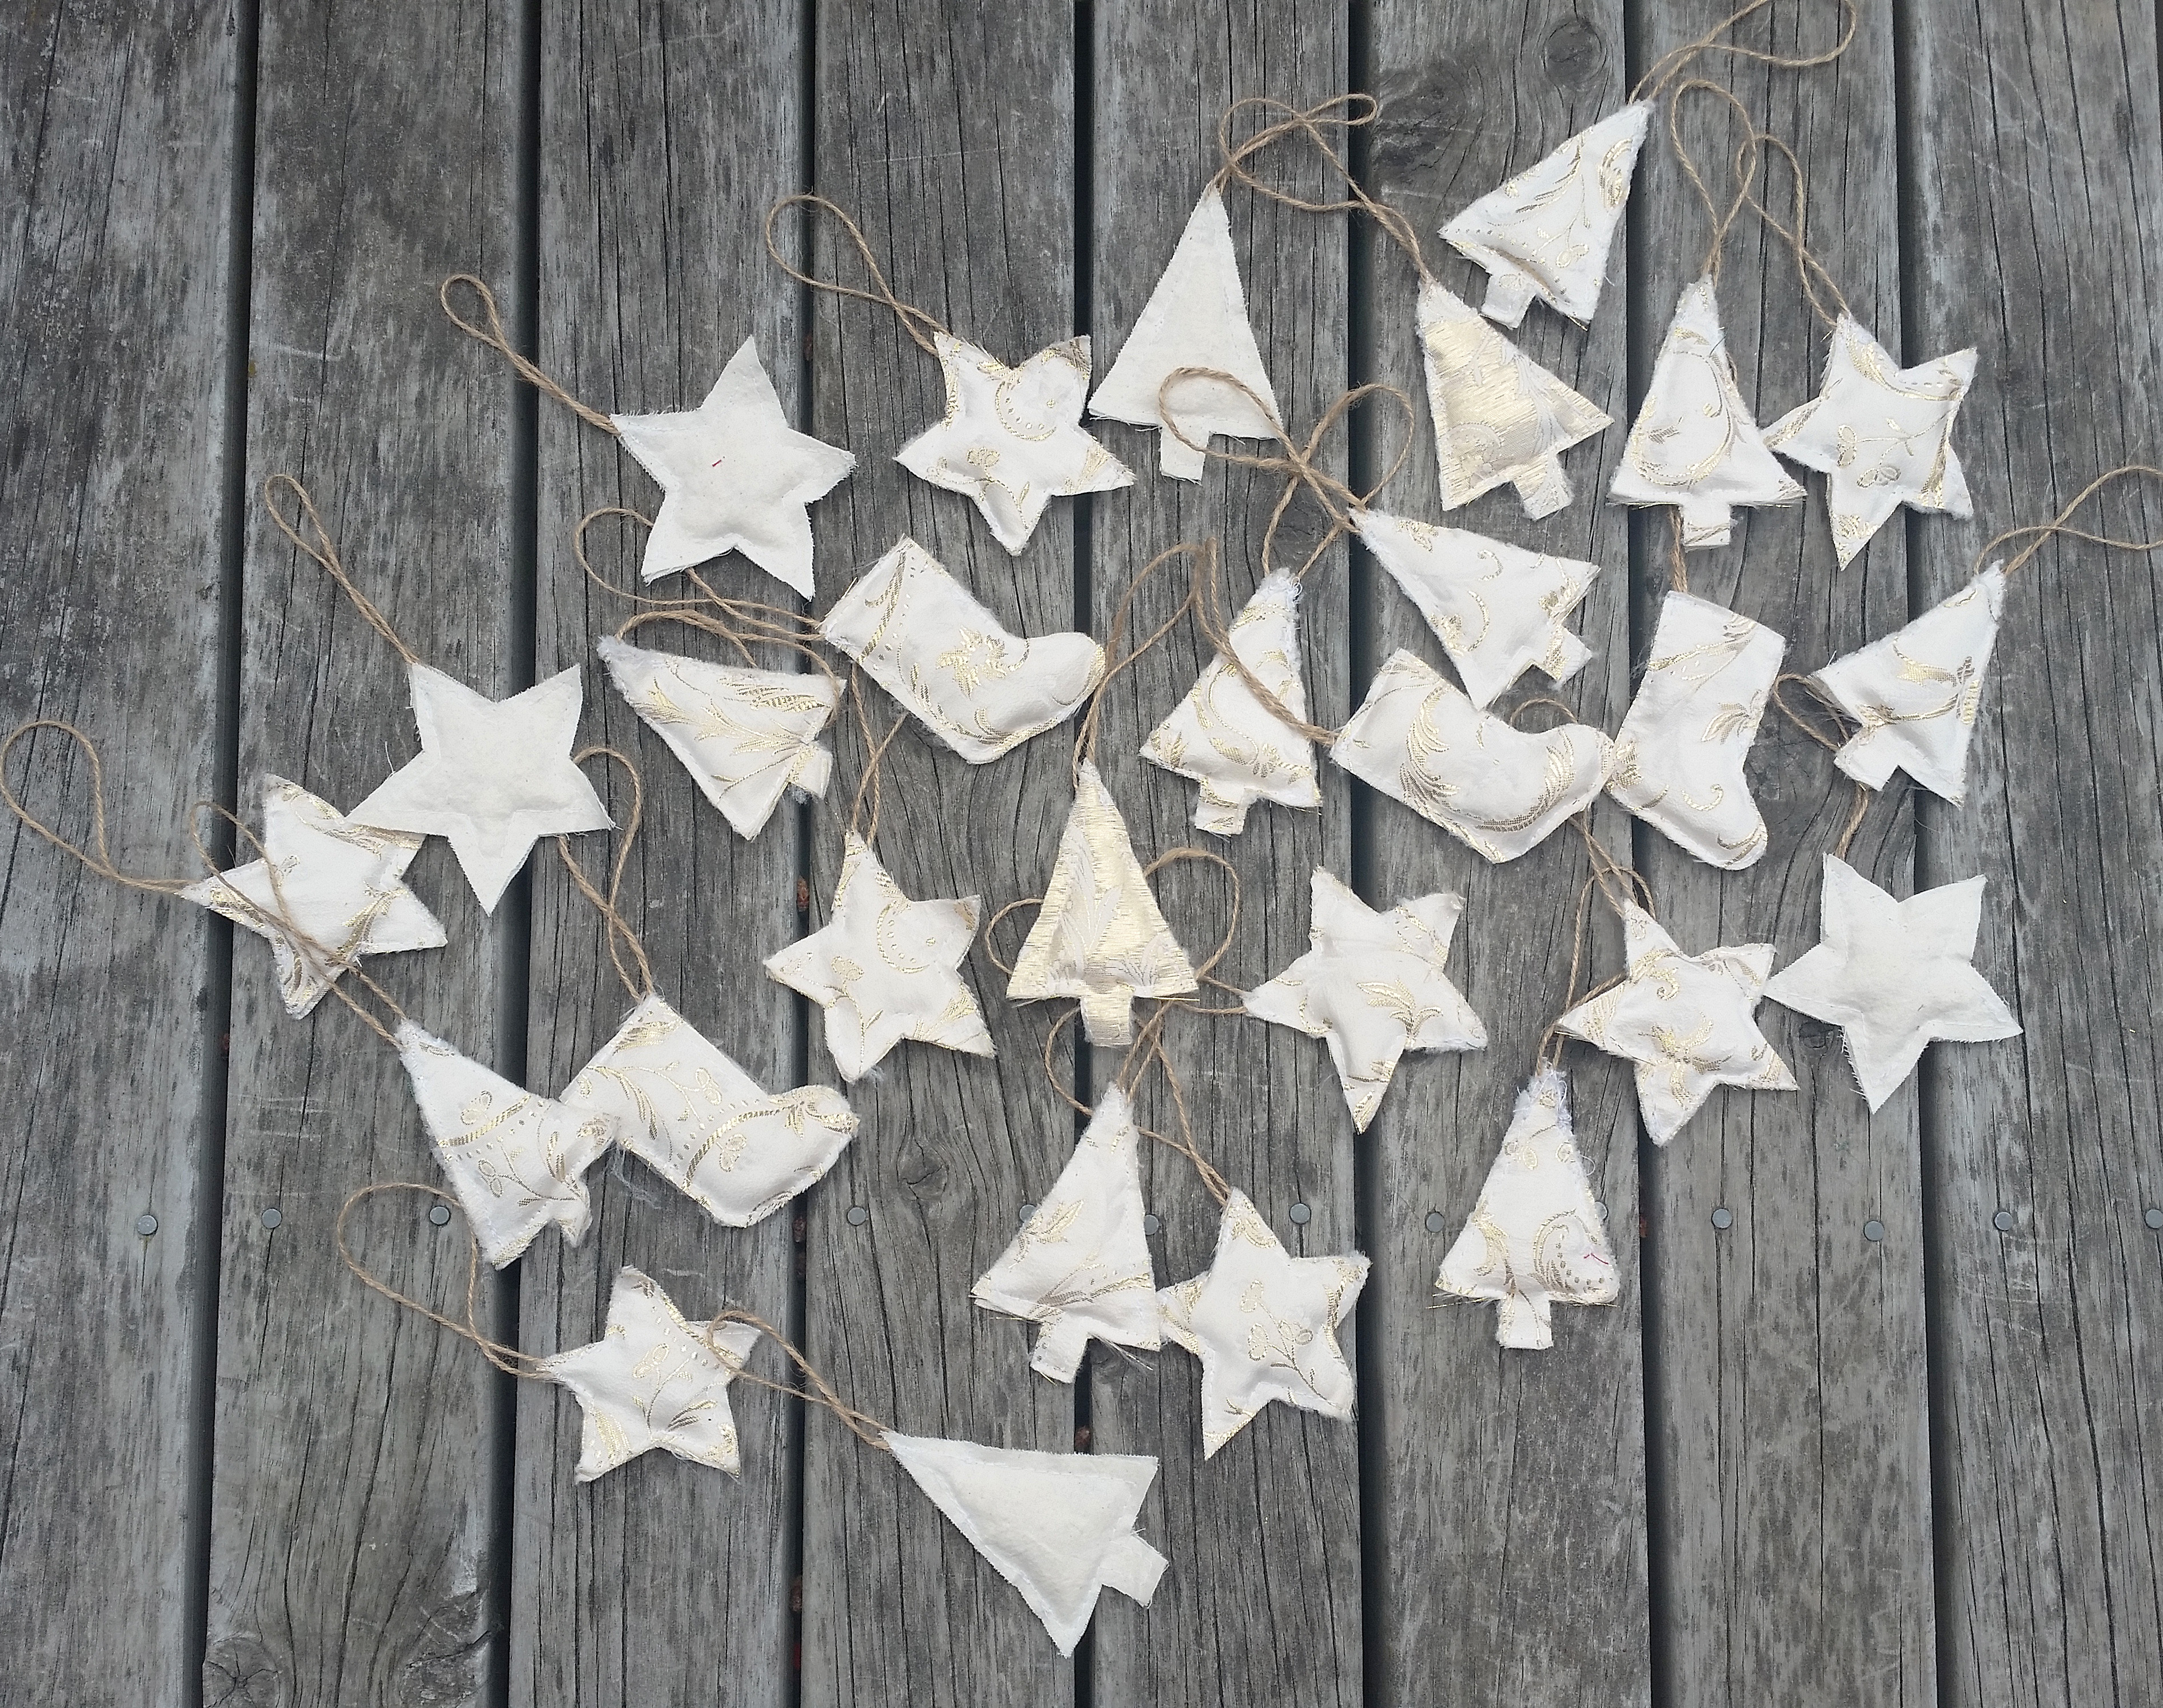
The first place to start is finding the colored fabric you want that is non stretch. You don’t have to go out and buy expensive fabric for this (but totally do if you want), all I did was visit my local secondhand store to get all the fabric I needed for only a few dollars. The colorful red and green fabric fabric I used was originally some old aprons and the gorgeous white and gold was a small length of fabric that someone had thrown out, the saying is so true “someones trash is another treasure”.
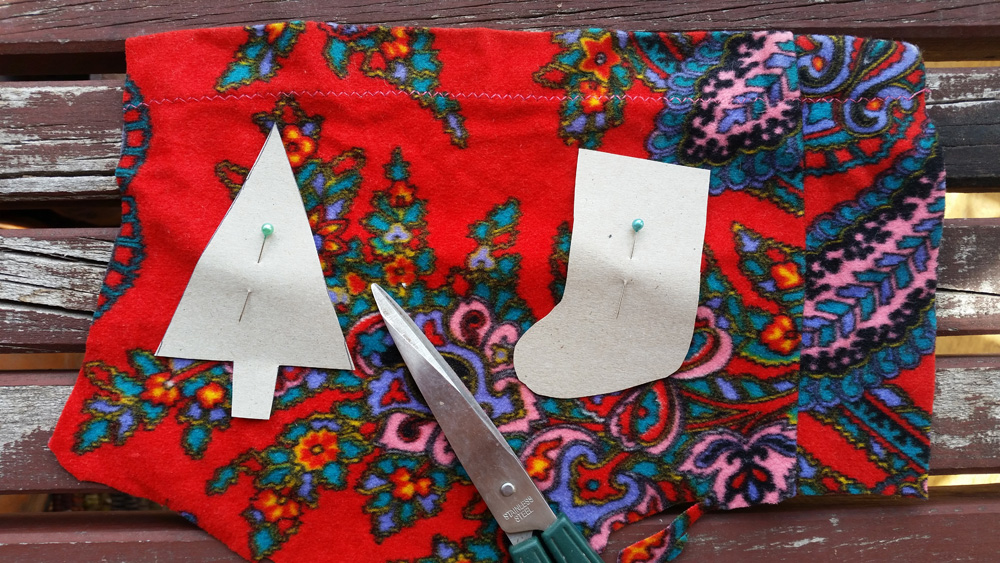
Step 2| Cut fabric shapes using templates
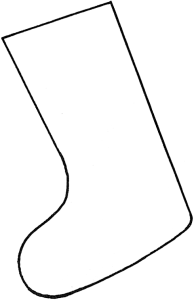
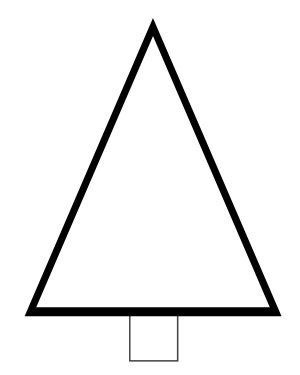
Cut the shapes of the christmas tree, stocking and star using these templates. Print them out to the size you want and cut out as many as you need from your fabric.
Step 3| Partly sew up decoration
Sew up the decorations all the way around but leaving a small gap that you can get your finger through so you can easily push the stuffing through.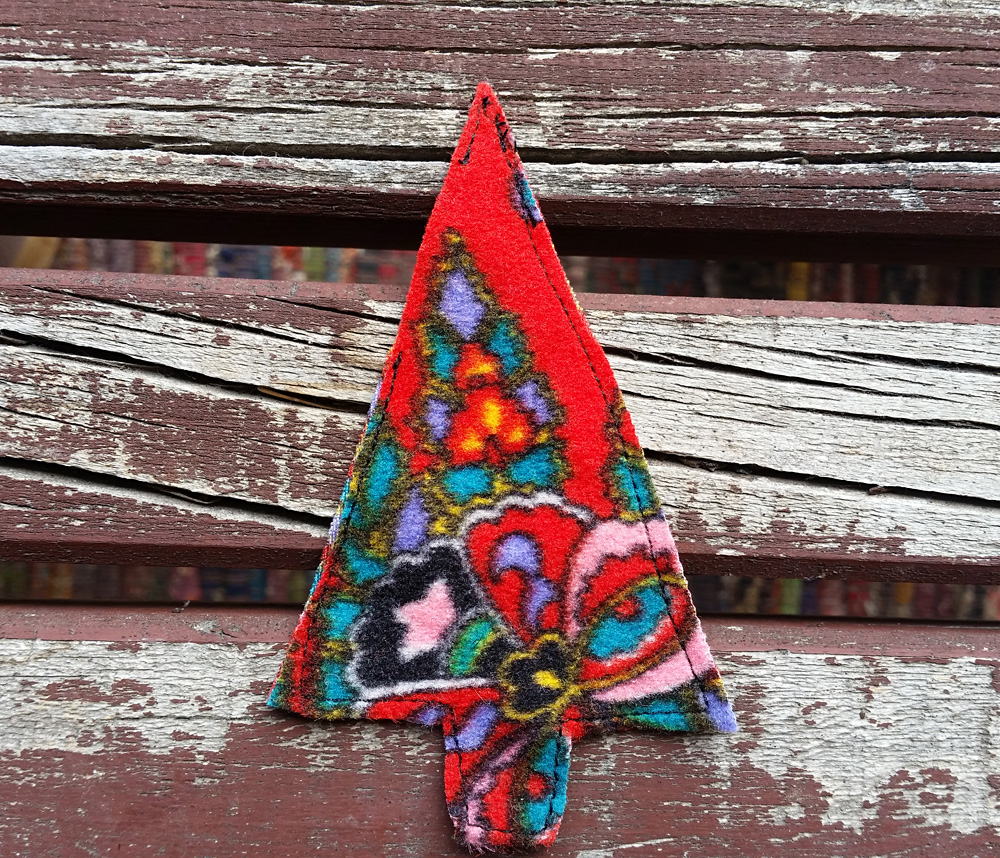
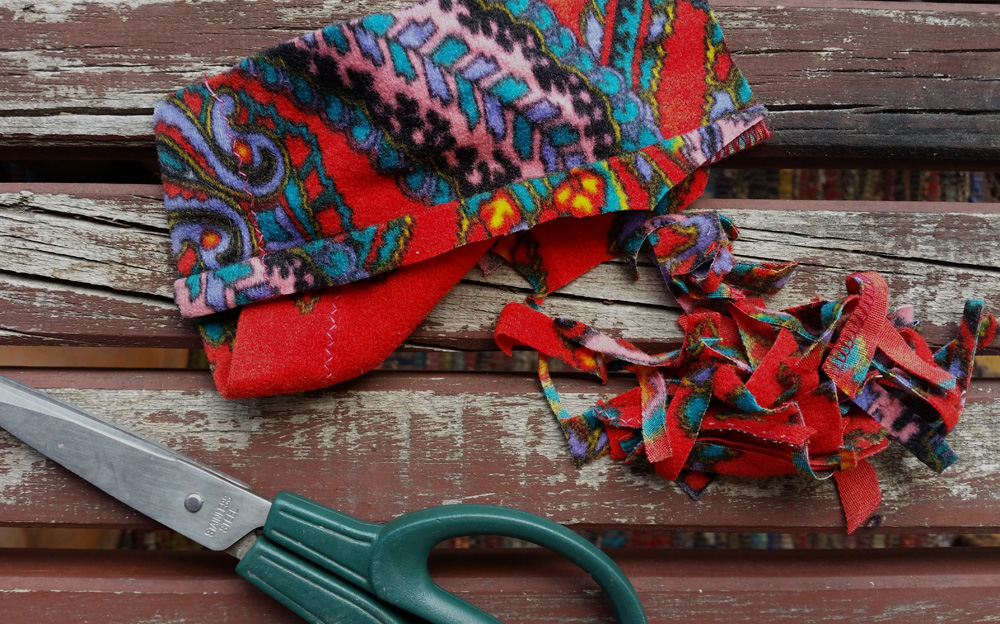
Step 4| Stuffing
You can use anything soft to stuff your fabric christmas decorations. In the interest of staying cheap and cheerful I used all the off cuts of fabric and cut them up into little strips, which worked really well.
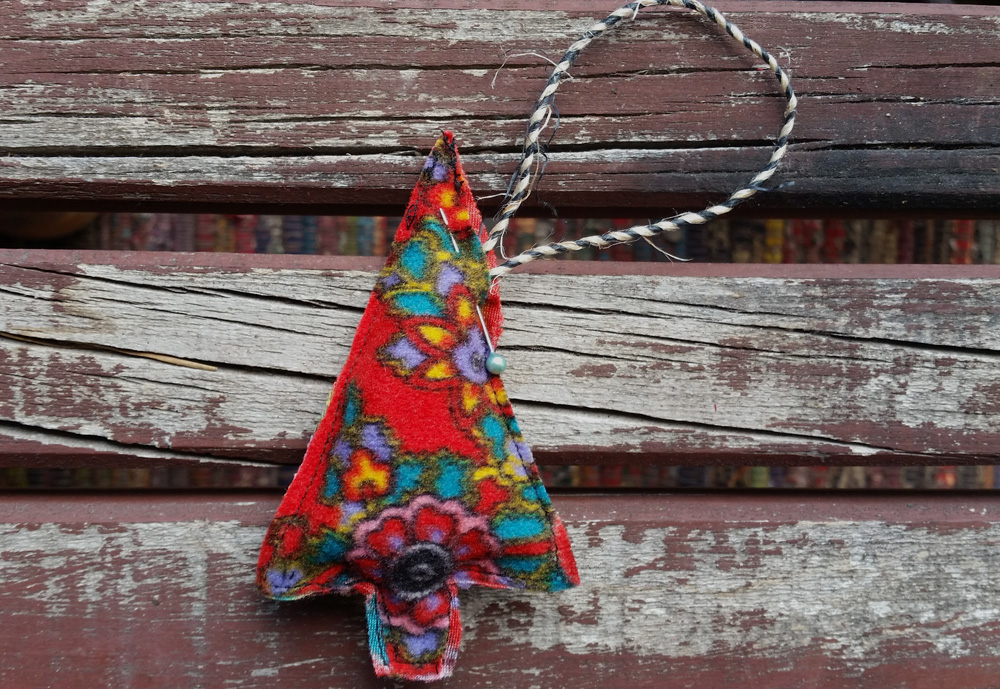
Step 5| Add string loop and finishing sewing up
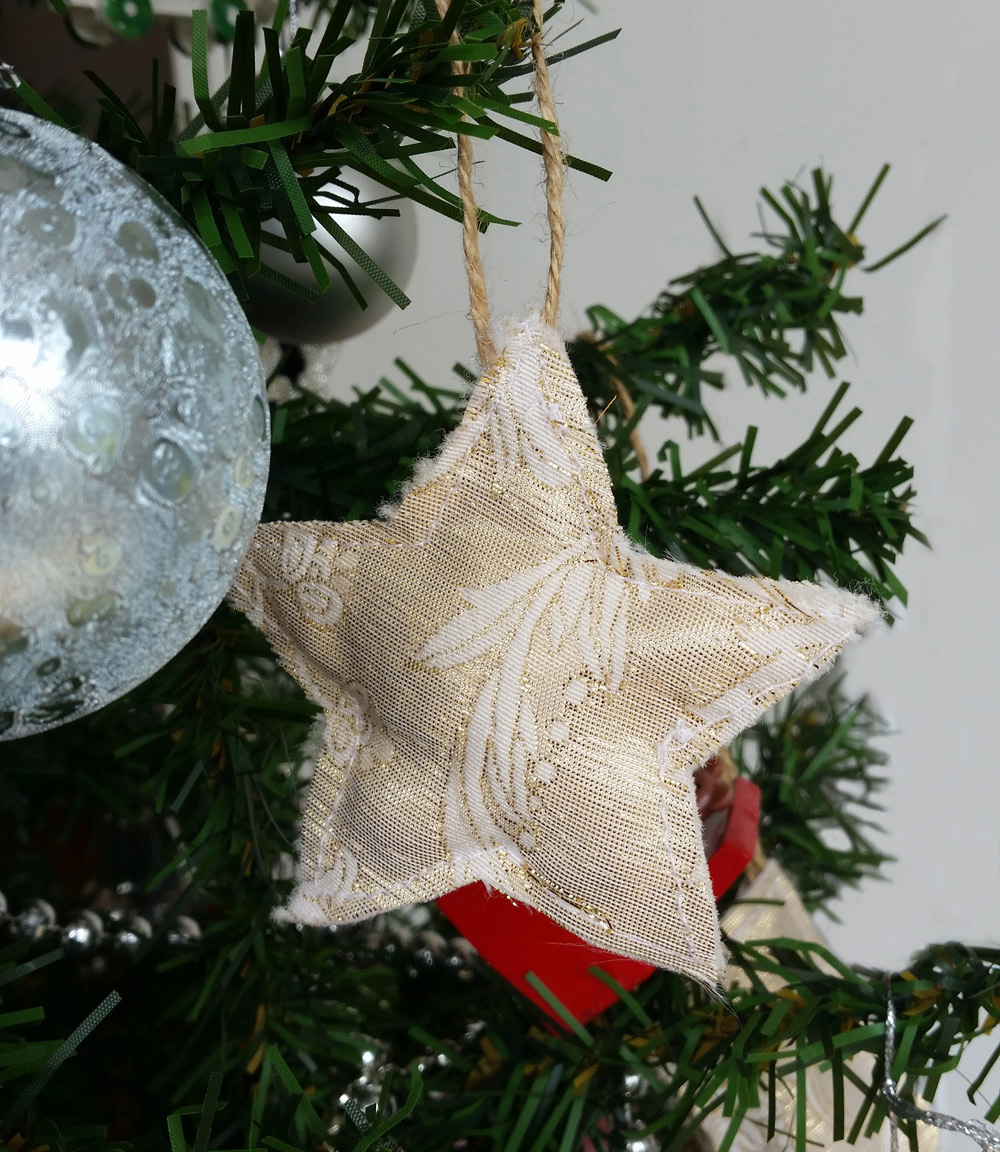
The last step is to add the string loop and sew up the gap, making sure you sew over the string so to secure it. Then your all done!



1 Comment
[…] See it HERE! […]